
Before we start baking, let me explain a little bit about this blog. I have been toying with the idea of starting a blog for quite some time now. I knew that I'd like to write about baking and cooking, because it is a great passion of mine and I love taking pictures of the things that come out of my kitchen. I also have been a very big fan of America's Test Kitchen, Cook's Illustrated, and Cook's Country. So when ATK posted a Blogger Challenge, I was finally inspired to start writing this blog.
The challenge proposed is to blog about making one of my favorite desserts/snacks: Chocolate Chip Cookies. Their Perfect Chocolate Chip Cookie recipe promises cookies with a moist and chewy interior, crisp edges, and deep notes of toffee and butterscotch...OK, I'm sold!
OK, let's bake!
Start by heating the oven to 375 degrees and adjusting your oven rack to the middle position.
Line 2 large baking sheets with parchment paper. I recently got these pre-cut half-sheet parchment papers from King Arthur Flour and they are very handy. I highly recommend them if you, like me, hate having to cut down larger sheets of parchment to fit your pan perfectly.

Whisk 1 3/4 cups (8 3/4 ounces) of flour with 1/2 teaspoon of baking soda and set aside. I prefer to weigh my ingredients when possible because it will produce the most accurate results.

I have to tell you that this is my favorite part of the recipe, and I'll tell you why after this photo.
In a 10-inch skillet, heat 10 Tablespoons of unsalted butter over medium-high heat, until it has melted. This will take about 2 minutes.

Continue to cook the butter, swirling the pan constantly, until the butter is a dark golden brown. I pulled the pan off after 3 minutes.

Pour the browned butter into a large bowl and stir in an additional 4 Tablespoons of unsalted butter, until it is completely melted.

Add 1/2 cup (3/1/2 ounces) of sugar, 3/4 cup (5 1/4 ounces) of packed brown sugar*, 1 teaspoon of salt, and 2 teaspoons of vanilla extract to the butter and whisk it until it is fully incorporated.
*Make sure you use fresh, moist brown sugar. I learned from Cook's Illustrated that the hardened brown sugar will make your cookies dry...and nobody wants that, right?

Add one egg, plus one egg yolk and whisk for about 30 seconds, until the mixture is smooth.

Let the mixture stand for 3 minutes, then whisk again for another 30 seconds. 

Repeat this process two more times, until the mixture is thick, smooth, and shiny. You can really see the difference in color and texture from the image above to the one below.

Add the flour and baking soda to the mixture.

Stir the flour mixture in until it is just combined.

Stir in 1 1/4 cups semi-sweet chocolate chips. You can also add 3/4 cup toasted, chopped pecans or walnuts at this point, if you so desire. (Sometimes I feel like a nut...today, I don't.) 

Make sure no flour pockets remain in the dough.

I'm using Ghirardelli Semi-Sweet Chips, which were one of the recommended brands in Cook's Illustrated's 2009 Dark Chocolate Chip taste test.

Divide the dough into 16 equal portions. Each cookie will be about 3 Tablespoons worth of dough. I have a 1 1/2 Tablespoon scoop, so I'm using two scoops per cookie.
Arrange 8 dough balls per cookie sheet, being sure to keep them 2 inches apart.
Look how pretty they are...and it's only going to get better from here!

Bake one tray of cookies at a time, until the cookies are golden brown, puffy, and the edges have begun to set, but the centers are soft. This will take about 10-14 minutes. (Mine were in for 13 minutes.) You should also rotate the tray, halfway through baking.

The recipe recommends that you transfer the baking sheet to a wire rack and cool the cookies completely before serving.
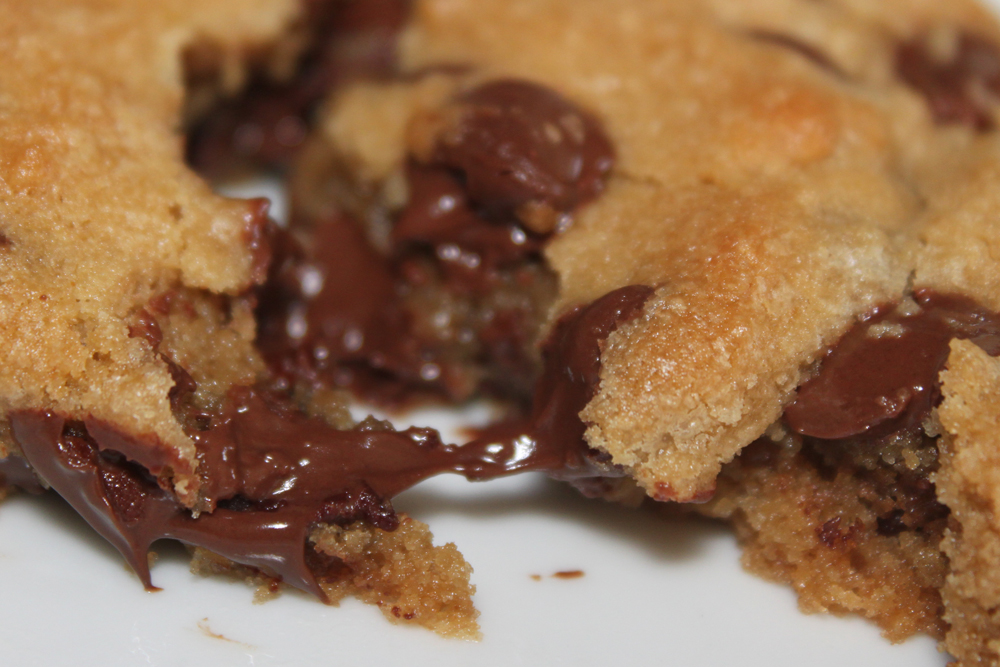
Um...sorry Cook's Illustrated, as much as I respect your advice and take your recommendations, I'm still going to have one cookie (OK, I admit it, two cookies) while they are piping hot!

I don't know what kind of super powers you have that you're able to resist a hot chocolate chip cookie, fresh from the oven, but I certainly do not possess these same powers. I mean, really, who can resist ooey gooey warm chocolate chip cookies?
This recipe was very easy to make. I'd estimate that it took me about an hour from start to finish. I actually made them on my lunch break from work one day, and later came home to a very happy husband with a belly full of chocolate chip cookies. 

I want to try a couple of different versions of the cookie; one with walnuts or pecans included and one substituting applesauce for the egg (for my daughter who has an egg allergy). I'll post the results of both of those variations here for you once I've tried them.
Thank you to Cook's Illustrated for yet another successful recipe (and for starting me on my blogging journey)!
Let me be the first to congratulate you on the first post of your first blog! I love the step by step description with photos, and I can't wait for you to make me some of these cookies! Looking forward to your next post! Well done, Sis!
ReplyDeleteHa ha. I couldn't wait for my cookies to cool either. I think that step needs to be eliminated. Gorgeous cookies! And congrats on starting a blog!
ReplyDelete